- Start with clear goals for your DIY home addition—define how the space will be used and whether it adds value.
- Create a detailed budget that includes materials, permits, labor, and a 10–20% contingency for unexpected costs.
- Always research local building codes and obtain the proper permits to avoid fines or legal issues.
- Design your addition to blend seamlessly with your home’s style while focusing on function, efficiency, and flow.
- Expect common challenges such as delays, budget overruns, or skill gaps, and plan accordingly.
- Prioritize safety by using the right protective gear and following best practices when handling tools or demolition.
- A well-executed DIY addition can increase comfort and resale value, but poor workmanship can hurt your investment.
Taking on a home addition project yourself can feel exciting, empowering, and cost-effective—but it also comes with unique challenges. Whether you’re looking to add an extra bedroom, expand your kitchen, or build a sunroom, a DIY home addition requires careful planning, the right tools, and a solid understanding of what to expect along the way. Many homeowners underestimate the time, costs, and skill required, leading to stress and mistakes that could have been avoided.
This guide will walk you through everything you need to know before you start, from evaluating your space and budget to understanding permits, materials, and construction steps. With the right preparation, you can transform your home and increase its value without relying entirely on contractors.
Why Consider a DIY Home Addition?
Adding space to your home is one of the most practical ways to enhance comfort and increase property value. But why should you consider the DIY route instead of hiring a contractor? First, cost savings are a huge motivator. A professionally managed home addition can cost tens of thousands of dollars, while handling certain parts yourself can cut that figure dramatically. Additionally, doing the work gives you more control over design decisions, customization, and timelines.
Another reason homeowners opt for a DIY approach is the personal satisfaction that comes from building something with your own hands. However, it’s important to be realistic. Not every task is suited for a beginner. Some jobs, like electrical work or plumbing, may still require licensed professionals. The key is knowing where to take the DIY lead and when to bring in expert help.
Step One: Assess Your Needs and Goals
Before you start knocking down walls or ordering lumber, you need a clear vision. Ask yourself: what problem is this home addition solving? Are you looking for more living space, a guest room, or a larger kitchen for entertaining? Each type of addition will come with different requirements and costs.
Take time to write down your goals. If you plan to sell your home in the next five years, you might focus on value-boosting additions like a bedroom or bathroom. If you’re staying long-term, comfort and lifestyle should guide your decision. Having defined goals ensures you don’t end up spending money on space you don’t actually need.
Key considerations when setting goals:
- How will the new space be used daily?
- Will the addition enhance resale value?
- Does your property have enough space for expansion?
- Are there zoning or neighborhood restrictions?
Step Two: Create a Realistic Budget
One of the most critical steps in a DIY home addition is financial planning. Many homeowners underestimate costs and end up overspending midway through the project. Start by researching the average costs for your type of addition in your area. Include materials, tools, permits, and any professional labor you might need.
Don’t forget hidden expenses. For instance, expanding your home may increase your heating and cooling bills. You may also need to upgrade your electrical panel or foundation to support the new structure. Adding at least 10–20% to your budget for unexpected costs is wise.
Budgeting checklist:
- Materials (lumber, drywall, insulation, flooring, roofing)
- Tools and equipment rentals
- Permit and inspection fees
- Utility connections (plumbing, electrical, HVAC)
- Safety equipment (goggles, gloves, masks)
- Contingency fund for surprises
By creating a detailed budget before starting, you’ll avoid the stress of running out of money midway through construction.
Step Three: Understand Local Building Codes and Permits
One of the most overlooked aspects of a DIY home addition is compliance with building codes. Every city or county has its own regulations for residential construction. These codes ensure safety and proper construction standards, covering everything from structural integrity to electrical systems.
Before you begin, visit your local building department or municipal office. They will inform you about necessary permits, inspections, and zoning restrictions. For example, some areas limit how close you can build to property lines, while others may require professional approval for structural plans.
Skipping this step could cost you in the long run. Unauthorized additions may result in fines, forced removal, or difficulties when selling your home. Permits may feel like an unnecessary hassle, but they protect you legally and guarantee that your home remains safe.
Step Four: Designing Your DIY Home Addition
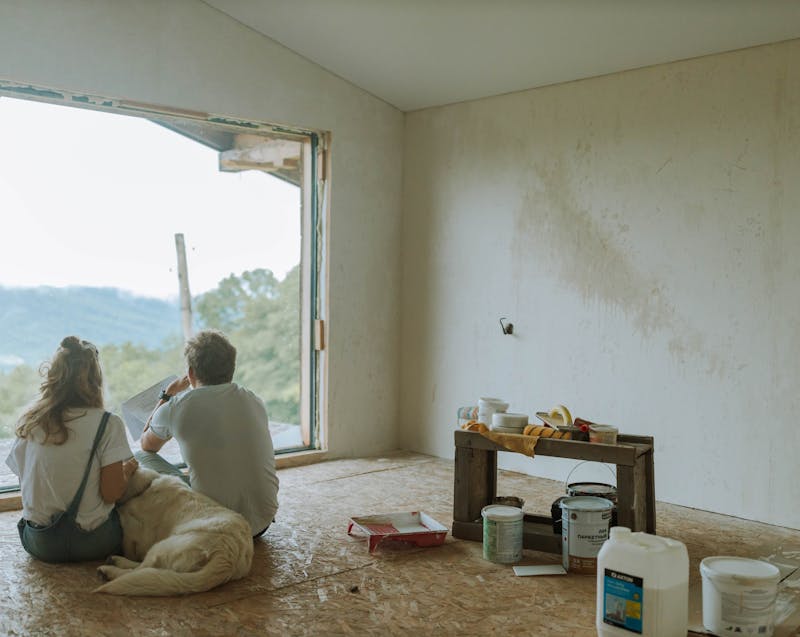
With goals, budget, and permits in mind, it’s time to design your space. Your design should align with your existing home’s architecture while meeting your functional needs. Start by sketching out the layout, then refine it using design software or online tools.
When planning the design, think beyond aesthetics. Consider natural light, traffic flow, and how the new addition will connect with existing rooms. If you’re expanding a kitchen, for example, will it improve accessibility and storage? If it’s a new bedroom, is there adequate privacy and ventilation?
Design tips to keep in mind:
- Match exterior materials (siding, roofing) with the rest of the house.
- Prioritize energy efficiency with insulation and window placement.
- Ensure seamless integration with plumbing and electrical systems.
- Avoid awkward layouts that reduce usability.
While DIY gives you freedom, consulting an architect or designer for advice may be worth the cost—especially if your addition significantly alters the structure.
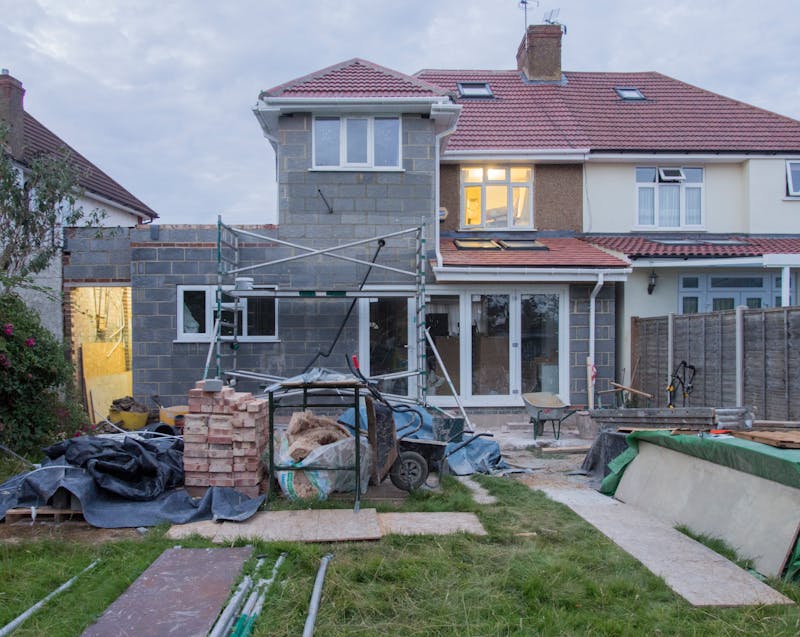
Step Five: Preparing Your Site
Before construction begins, you’ll need to prepare the site. Site preparation is critical for safety and ensuring a smooth build. This includes clearing the area, marking boundaries, and ensuring the ground is stable. Depending on the size of the addition, you may need to excavate, pour a new foundation, or reinforce existing structures.
If your project involves heavy lifting or excavation, renting equipment like a skid-steer or hiring temporary labor can save time. Additionally, make sure you protect surrounding landscaping, fences, or neighboring properties from construction damage.
Site prep essentials:
- Clear debris and vegetation.
- Mark property boundaries clearly.
- Prepare access paths for materials and equipment.
- Check soil stability for foundation work.
- Arrange for waste disposal (dumpsters or hauling services).
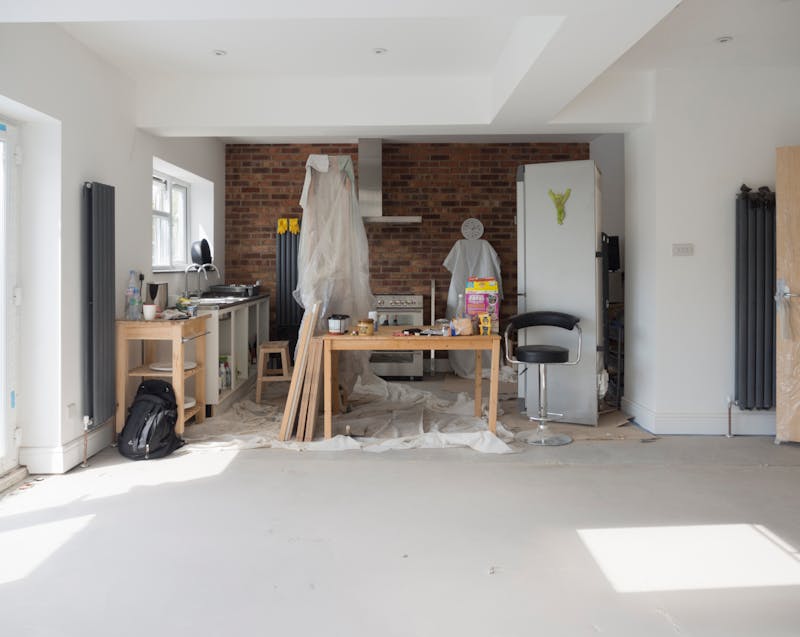
Step Six: Construction Basics for DIY Home Additions
Construction is where your planning turns into reality. While the exact steps will vary depending on the type of addition, most projects follow similar stages.
Typical stages of a DIY home addition include:
- Foundation: Pouring concrete or reinforcing the existing base.
- Framing: Building the structural skeleton with lumber.
- Roofing and siding: Ensuring weather protection.
- Windows and doors: Installing for access and natural light.
- Utilities: Connecting electrical, plumbing, and HVAC.
- Insulation and drywall: Sealing the interior.
- Flooring and finishes: Adding the final design touches.
As a DIYer, you may choose to handle parts of this yourself—like framing, drywall, and painting—while hiring professionals for electrical or plumbing tasks. Balancing what you can realistically do ensures safety and code compliance.
Common Challenges and How to Overcome Them
Even with the best planning, DIY home additions often come with roadblocks. Unexpected costs, structural issues, or permit delays can cause frustration. Being prepared for these challenges will help you stay calm and adapt.
Common DIY hurdles include:
- Budget overruns: Avoid by tracking expenses weekly.
- Weather delays: Plan construction during mild seasons.
- Skill gaps: Watch tutorials, take workshops, or hire pros for complex tasks.
- Permit issues: Start the application process early.
- Time constraints: Be realistic—DIY projects often take longer than expected.
The key to success is flexibility. If you face a challenge, adjust your plan instead of pushing forward recklessly.
Safety Considerations Every Homeowner Should Know
Safety should never be an afterthought. DIY projects can expose homeowners to risks such as falling, electrical shock, or exposure to hazardous materials like asbestos or lead paint. Always wear proper safety gear and follow best practices for tool use.
Safety essentials for DIY additions:
- Wear goggles, gloves, and dust masks.
- Use ladders and scaffolding correctly.
- Shut off power before electrical work.
- Test older homes for lead paint or asbestos before demolition.
- Keep a first-aid kit and fire extinguisher nearby.
Protecting yourself and others on-site is just as important as completing the project on time.
The Long-Term Value of a DIY Home Addition
Beyond the immediate benefits of more space, a home addition can greatly increase property value. Buyers are often drawn to homes with additional bedrooms, modern kitchens, or versatile living areas. By carefully planning and executing a DIY project, you not only save money but also invest in your home’s future marketability.
However, poorly executed additions can hurt resale value. That’s why following codes, maintaining quality workmanship, and ensuring design harmony with the existing home are so important. If done right, your project can bring a return on investment of 50–80% or more.
DIY Home Addition: Where to Start and What to Expect
So, where should you begin, and what can you realistically expect from this process? Start with clear goals, a realistic budget, and a strong understanding of codes and permits. Expect challenges along the way—both financial and logistical—but know that with patience and planning, you can create a space that enhances both your lifestyle and your property value.
Most importantly, expect to learn. A DIY home addition is not just about building walls; it’s about developing new skills, gaining confidence, and shaping your home to fit your needs. While it won’t always be easy, the rewards often outweigh the struggles.
Final Thoughts
Taking on a DIY home addition is not for the faint of heart, but with proper preparation, it’s an achievable and rewarding project. From initial planning and budgeting to design, permits, and construction, every step matters. While you may need professional help for certain aspects, much of the work can be done with dedication and the right resources.
By understanding where to start and what to expect, you’ll set yourself up for success. At the end of the journey, you’ll have more than just added square footage—you’ll have the pride of knowing you created a meaningful improvement to your home.